Monday, January 31, 2011
Sunday, January 30, 2011
Thursday, January 27, 2011
Photoshop CS4 Tutorials due Monday, 1/31
Hello All,
This is a repetition of assignment given to you in class.
List of tutorials is at
http://tv.adobe.com/show/learn-photoshop-cs4
Assignments for Monday, 1/31
1) All watch Getting Started 01-11, Introducing Photoshop CS4, & Using Kuler Color Themes.
Be sure you understand these basics.
2) Please give a DEMO to the class using PS on the Mac in the front of the classroom,
or prepare a POWERPOINT explaining what you learned (or any combination of these).
Note: to make screen capture of images from video use command shift 4. Very cool.
[Note change: you can demo and/or prepare a Powerpoint. Thought that would help.]
You have chosen a tutorial in class, and that list is below.
If your name is not on this list, choose any tutorial you like.
If someone else is also doing that one, communicate with them
on how you want to divide up the discussion.
Please see list of choices below.
MCS
Using Effects... D. Burgett
Converting... Meredith
Making Local... Tiffany
Using OpenGL... Jessica
Making Color... Jason
Using Advanced... Sarah (Tiffany is listed here also...)
Making Adjustments Catherine, Lisa
Rotoscoping... Travis, Trisha, Sarah
Using Kuler...Allison, Phuong (I think is listed here?)
Using Connctnow... Kevan
Using 3D object... April
Using PS with Premiere Pro Matthew
Photoshop and Flash(?) Sam Smith, Jacob Zimmer
Wednesday, January 26, 2011
Lisa Adolph Brushes and Self Portrait
self portrait

This is my self portrait that took forever to load. I used the brushes we made in our earlier assignment.
Trisha Cleveland portrait
Epson Print Settings
To print at the Media Center, Ground Floor, Langford Building A:
1) Go to Media Center and pay for 8.5" x 11" paper printed on Epson printer.
2) At that time tell them which paper you are going to use:
Premium Luster Photo Paper or Enhanced Matte Paper
3) Go to public computer lab in Langford. Download your file and open it in Photoshop.
4) Select Print. In middle of Print box is Page Setup.... Hit that and select:
Format for: A 122 Epson Photo
Paper Size: US Letter (US Letter (Standard- Minimize Margins)
Orientation: pick vertical (portrait) or horizontal (landscape)
5) Return to Print box. Hit Print at bottom right of box.
6) Click Layout in middle of new box and go down to Print Settings.
7) Choose settings as shown here (except your printer is A 122 Epson Photo).
Both are the same except you will choose either Luster or Matte paper.
Use Advanced Settings with High Speed NOT checked, and a high Print Quality of 1440dpi.
8) return to Media Center and pick up print.
brushes!
My Brushes

For this assignment I created three different brushes and then played with the settings of each. I first created a leaf with a stem, and then adjusted the settings so that the opacity and size of the leaf varied as well as the spacing. I then created a leaf without a stem and applied the same settings. After using this brush I decided I would like them to go in varying directions so I changed the angle under the shape dynamics. The third brush I created contains a series of dots. I first created the pencil type setting specified in the tutorial by turning on dual brush. Going back to the original settings I noticed that by varying the opacity of the brush it came in handy when creating freckles. Lastly I added texture to the original brush and used it when creating hair.
Download
Self Portrait

This was my first attempt at a portrait, I used a picture for reference in order to get the proportions between the eyes, nose and mouth correct. I was in a fairly lit in the picture so there is only a little shadowing. I took free handed the hair style using one of the brushes we created in the previous assignment. I was able to get a good blending of colors by putting them on separate layers, and then messing with the opacity. I love how it turned out!
selfportrait1
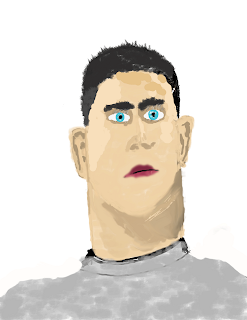 this is my self portrait, i used one of the brushes another person in my group did for the skin and i used my leaf brush for the hair/eyebrows
First Self Portrait
This was my first attempt at making a self portrait inside of photoshop. The room I was in was completely dark except for two computer monitors and a little hallway light coming in from behind. I used the two brushes that I had made along with Catherine's cat fur brush.
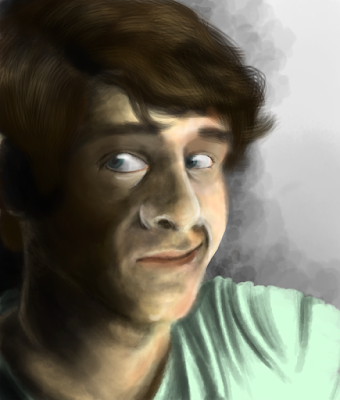
self portrait, illustrative style
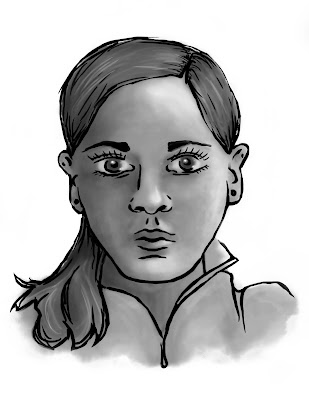 ^^ Here is my first self portrait image. I started with a sketch and then outlined it, as you can see below. The outline had a nice illustration/cartoon pen and ink quality, so I decided to run with it. I tried to make the shading mimic an ink wash, using the bleedy-watercolory brush that I created for our first assignment. I think the jpeg compression killed the effect a little bit, but the printout looks better.
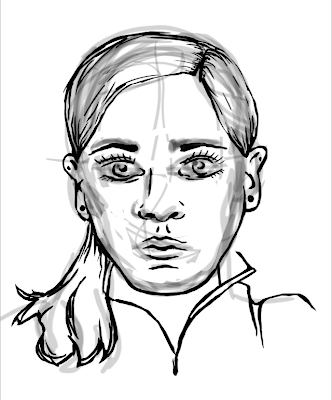
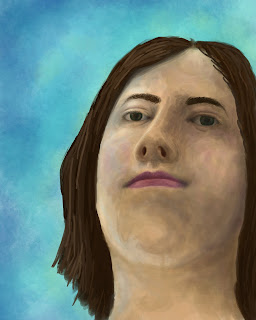
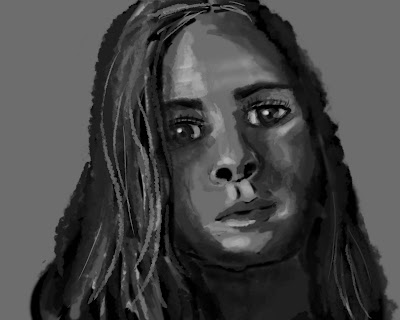
The image below is my first attempt that I created over the weekend. As you can clearly see, it looks nothing like me. As I was drawing, I was increasingly distressed by the non-resemblance (and I was indeed drawing from a mirror), so I ended up with this picture of a random worried-looking girl. However, I'm somewhat happy with the chalk pastel effect that I got with my homemade brush, so I decided to share it:
Self Portrait Info
TITLE: You can give it any title you like (as this has Self Portrait Info as the title).
LABEL: Please label with: Your name, Self Portrait
Next one you do can by labeled Self Portrait 2. Final one can be Self Portrait 3.
INFO: You can also include text with information about the making of the pic.
LABEL: Please label with: Your name, Self Portrait
Next one you do can by labeled Self Portrait 2. Final one can be Self Portrait 3.
INFO: You can also include text with information about the making of the pic.
Self Portrait
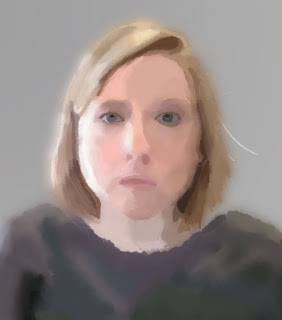
This is my final iteration of my first attempt at my self portrait.
I made it by laying down blocks of color using my grunge-y brush, then using the Gaussian blur function to blend them all together. I repeated this a few times until i started to get a good shape. Then I used the smudge brush with my hairball paintbrush to make my portrait look 'painterly' and shape it a bit more.
brushing up
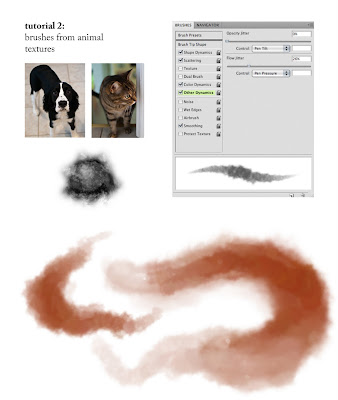
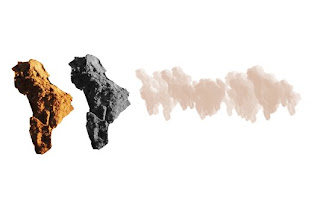
For this tutorial, I overlaid two photos of my dog and my cat in difference blending mode, cut out an interesting part, duplicated and rotated it a couple times, and ended up with this nice bleedy-watercolorish brush.
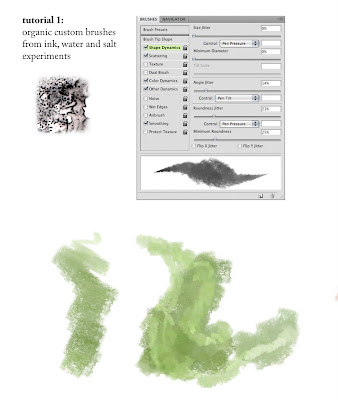
For this tutorial, I made a quick painting with india ink, water, and salt. Then I scanned it, cut out a little part, messed with the levels and blending modes, and voila: a chalky little brush.
Tuesday, January 25, 2011
Brushes!
First, I made a brush that used multiple dots to create a stringy look. I've found it's great for hair!
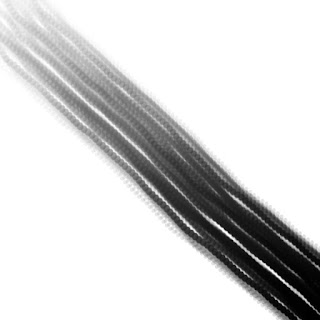
I also created a texture brush using a photograph from a play I was in back in high school.
Using this...

I was able to create this texture.
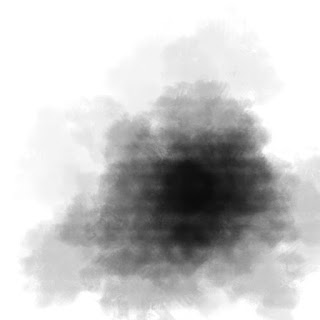
Both brushes used on top of one another...
brush
Subscribe to:
Comments (Atom)


